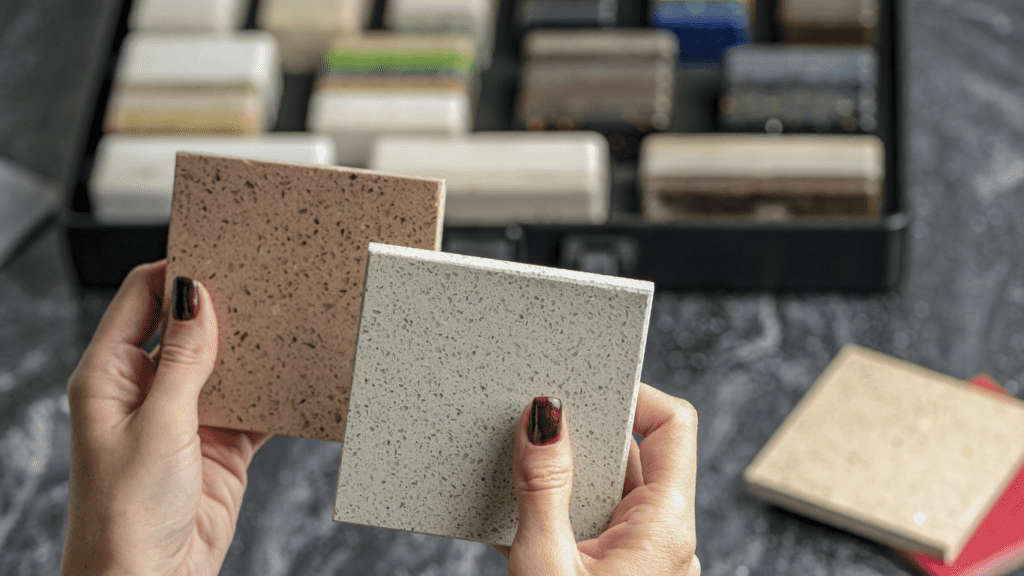
A new floor can radically transform the appearance of your kitchen. The correct floor will improve your home’s usability and appeal to potential purchasers. However, it would be best if you first prepared before removing the old floors and installing the new ones. What should you do to prepare your kitchen for new flooring installation? This blog will discuss the best way to prepare for a kitchen floor renovation.
Prep Up For your Kitchen Floor Renovation
Choose your flooring
 The preparations you must make before a kitchen floor renovation depend on the flooring you select. For instance, you must remove the old flooring before installing new hardwood. There’s a variety of choices. Consider the best laminate flooring for the kitchen, tiles, and other materials. On the other hand, vinyl flooring can be installed over pre-existing floors, so you can skip this step if you’re utilizing that material.
Talk to a Contractor
Find a few estimates from local professional installers, research, and choose the best candidate. Planning and estimating timelines will be simpler if you already have a contractor in mind to install your new floor. Of course, if you’re doing your kitchen floor renovation yourself, you can skip this phase.
Measure and order.
Measure your kitchen to determine how much material you need to order based on your chosen floor. As a wise carpenter would do, take multiple measurements to be sure your calculations are correct. Ordering more than you require to put on your kitchen is fantastic. In this manner, you will have extra pieces in case you damage any during repair or cut one to the incorrect size. It would be best to have additional flooring available to make unique cuts since most kitchens aren’t exact squares.
Extra floorboards or tiles can serve as a backup for broken ones in the future and provide a testing area for cleaners and sealants before you apply them across the entire kitchen.
Make a garbage disposal plan.
Most garbage haulers will only take away specific goods if requested, on average. Ask your local collector if they would remove your old flooring by giving them a call. If not, you should hire a junk removal service or rent a dumpster. You’ll have your former floor’s ruins if you don’t.
Make way.
Take anything from your kitchen that could get in the way of your renovation. You must remove your kitchen supplies if you’re also rebuilding the cabinetry. If you’re only changing the floors, remove the dining table and chairs and any freestanding appliances like refrigerators and dishwashers from the room. Remove all window treatments, mirrors, and other wall decor to prevent damage. You don’t want to damage anything while you tear up the floors.
Contain dust.
To stop the dust from your renovation from settling in other parts of the house, hang plastic sheets over the doorways. You may be sure you can exit the kitchen by slicing a vertical gap up the middle of one doorway cover. Tape the opening shut while you’re working to keep dust out. A plastic sheet with a zipper down the middle is likewise an item you can get from your neighborhood hardware store. Also, think about creating a runway out of plastic sheets or drop cloths from your kitchen to the location of your waste disposal. You won’t track dust onto your carpet or other flooring and can keep your work boots on.
Cover the basement.
Place drop cloths over everything in the basement if it is located underneath your kitchen. You risk having dust and other debris fall from your basement ceiling due to all the pounding and work while doing your kitchen floor renovation. Covering items in advance will make cleanup much simpler later.
Remove floors.
Now is the time to take the necessary procedures to eliminate material from your floors. For the most part, this will entail inserting a wedge beneath the floor and smashing against it to lift the tile, wood, vinyl, and so on. To preserve your subfloor, work horizontally rather than vertically.
Inspect and prepare the subfloor.
If your subfloor is in good shape (level and free of cracks and bumps), you can clean it with a broom and an industrial vacuum. Repair any damage as soon as possible. Subfloors that are rotting or molding should be replaced entirely. You may begin installing your new kitchen flooring when your subfloor is complete.
Let’s review!
Kitchen floor renovation can be a big project. Still, with the proper preparation and approach, It can also be a thrilling and gratifying experience. Taking the time to plan, find the right flooring and contractor, and protect your home from dust and debris can make all the difference in achieving the desired results. Plus, once the work is done, you’ll have a beautiful new kitchen floor that can enhance the look and functionality of your space.
With these guidelines, you are now ready for your next big project. If you are looking for a professional team to help you build your kitchen floor renovation, don’t hesitate to contact the experts of Floors Touch. We are ready to help you make the kitchen floor renovation of your dreams. Call us now, and let the process begin!
You can also visit our social media for more details about kitchen floor renovation.
